Create a Custom OAuth Connection
Some APIs don’t let you connect with just an API key. Instead, they require something called OAuth a secure way to give apps access to your account. This is common with services like Meta, Salesforce, or Zoho.
When do I need to create a custom OAuth connection?
You'll need to create a custom OAuth connection when:
-
The API you want to use only supports OAuth (not API keys or other login methods).
-
Note API Connector does not have a preset OAuth connection for that specific API.
Set Up an App on the API Provider
First, you need to create an application inside your API provider's developer console. Check their documentation under the “OAuth” or “Authorization” section for specific steps.
During setup, the API provider may ask for a redirect URL. Use this one:
https://api.noteapiconnector.com/oauth/callback
Once set up, you'll receive a Client ID and Client Secret. Save them somewhere secure—you'll need them soon.
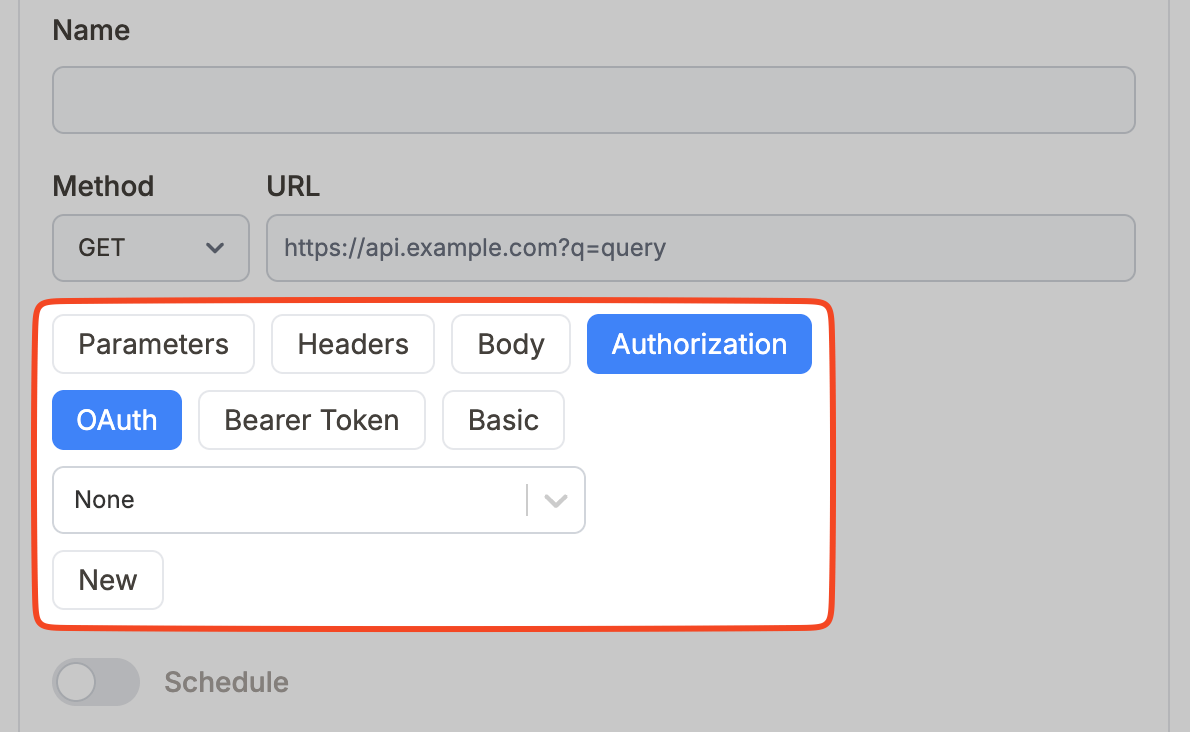
1️⃣ Open the Create Request view.
2️⃣ Click the Authorization tab.
3️⃣ Click the OAuth tab.
4️⃣ Click the New to add new Oauth connection.
This will open the custom OAuth connection screen, where you can enter the details of your OAuth app:
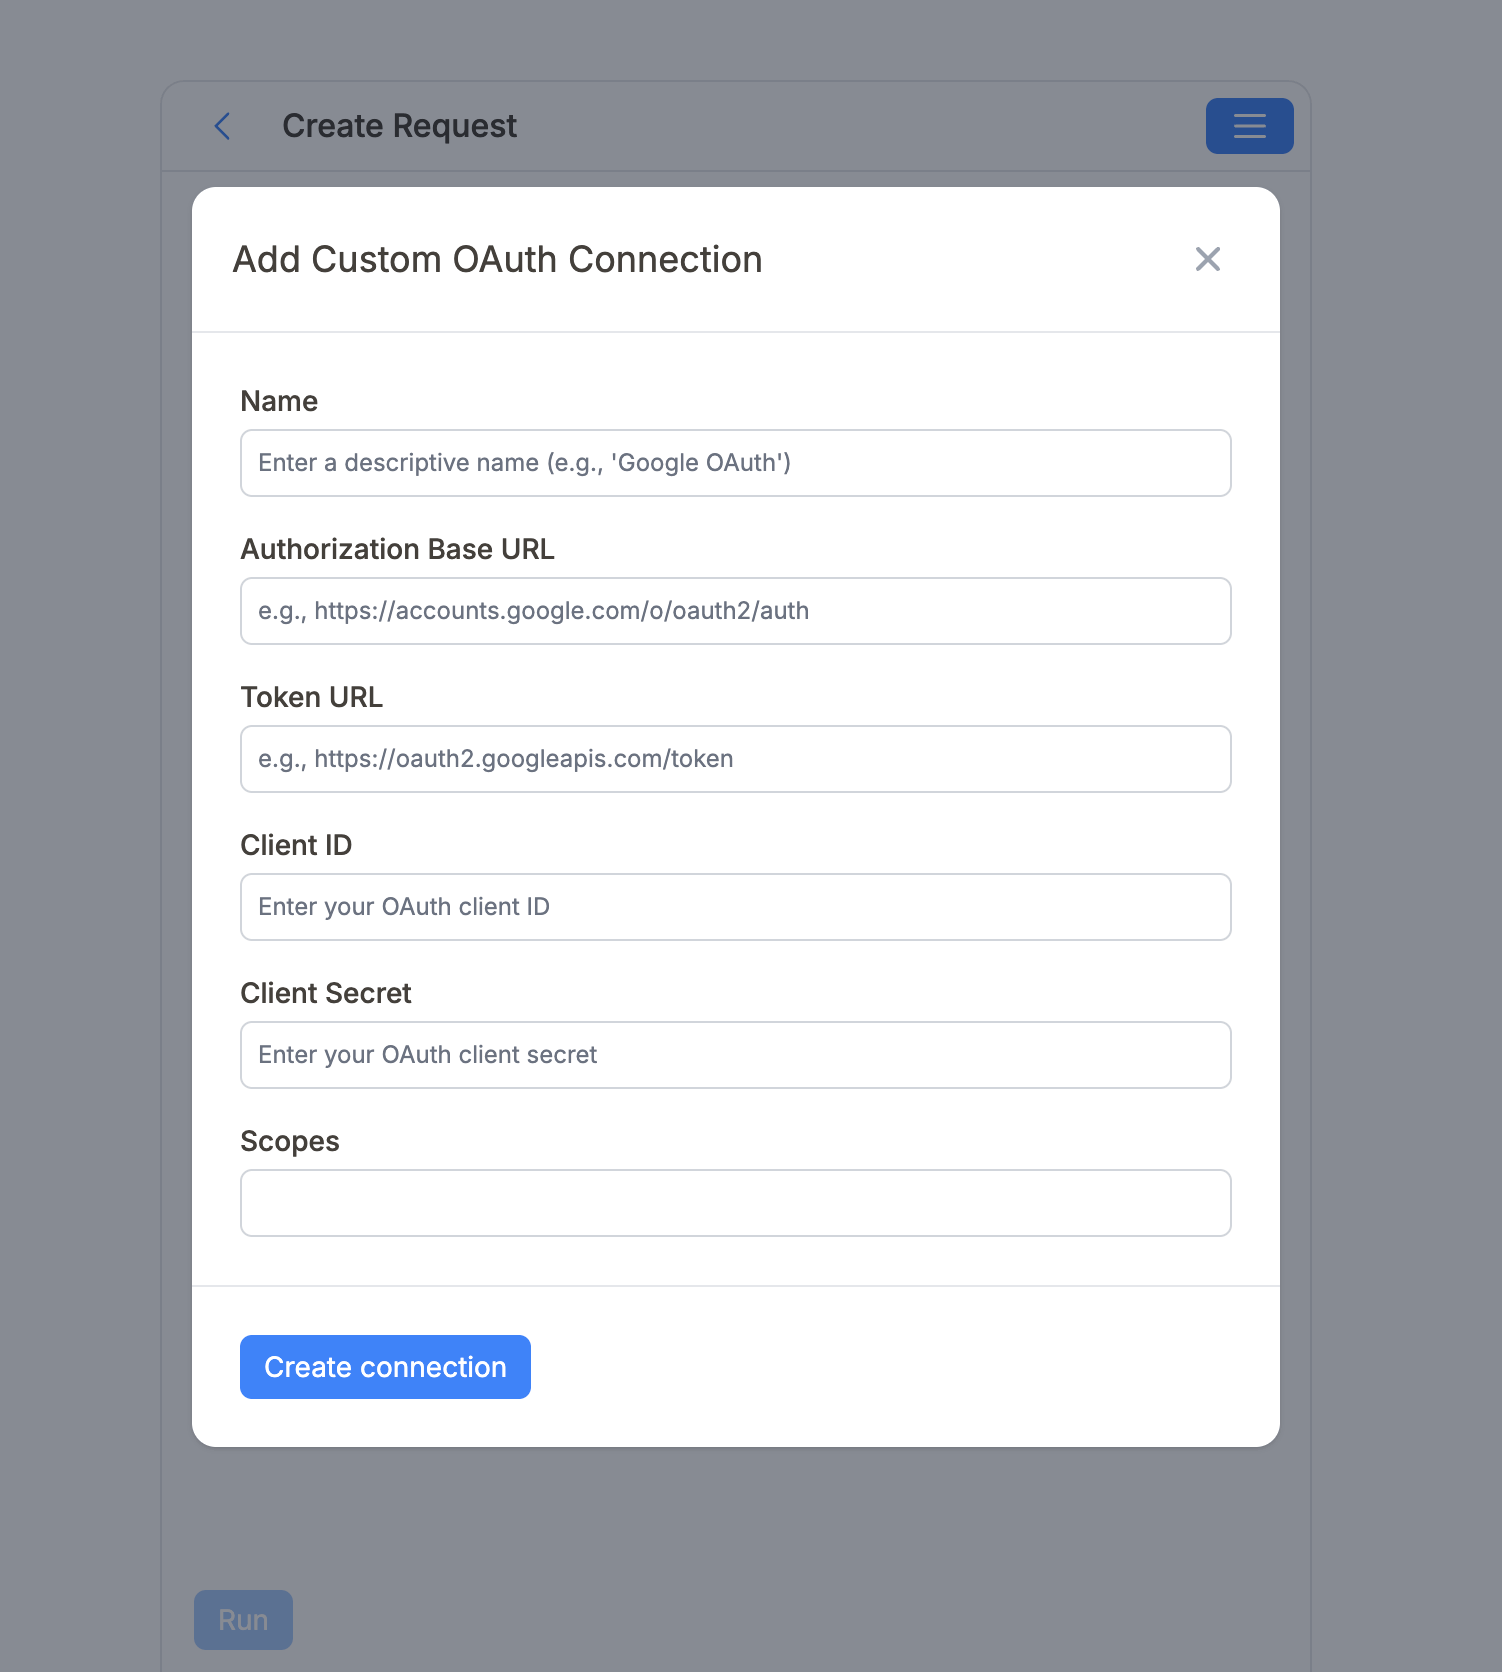
- Name: Give this connection a name that helps you remember what it's for (e.g.
Google CalendarorHubSpot Connection). - Authorization Base URL: This is the link that opens a window to ask for access to your account. Example:
https://accounts.google.com/o/oauth2/auth. - Token URL: This is where the system sends your authorization code to exchange it for an access token. Example:
https://oauth2.googleapis.com/token. - Client ID: This is the public key for your app, which you received as Client ID in previous step.
- Client Secret: This is the private key for your app, which you received as Client Secret in previous step.
- Scopes: These define what kind of access you want (e.g. read-only, write access). You can usually copy them directly from the API’s OAuth documentation. Scopes should be separated by spaces.
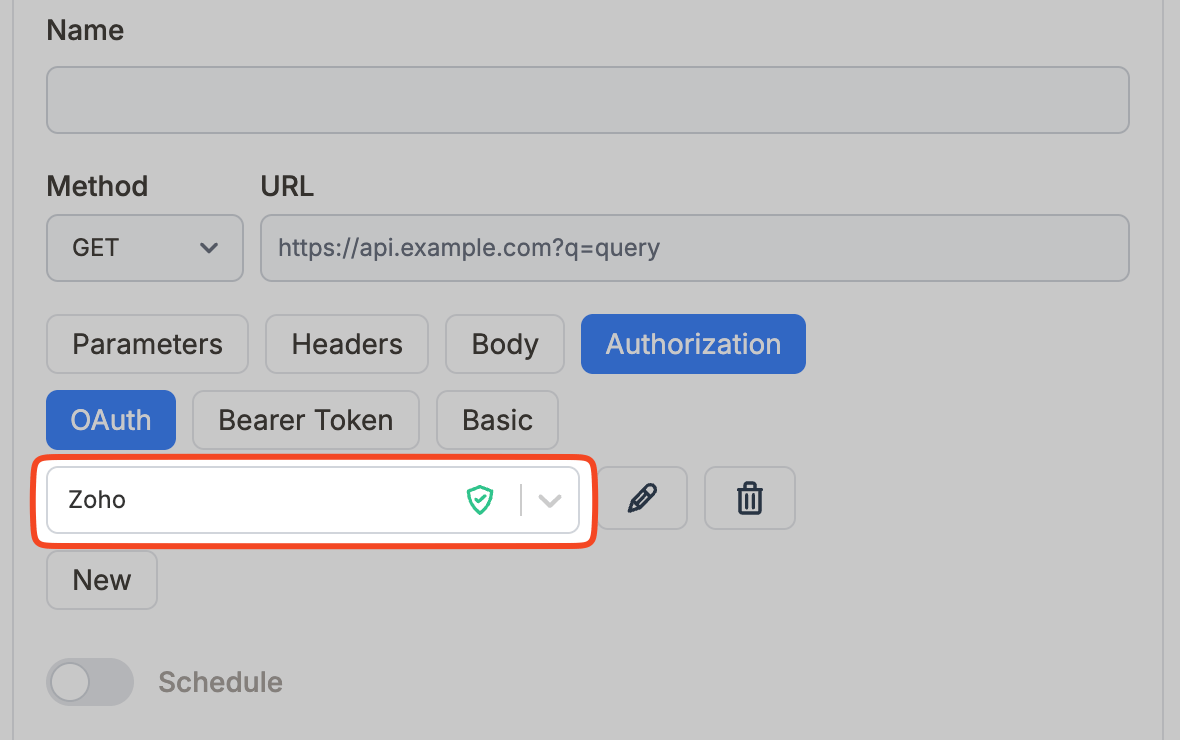
After you've filled everything in, click Create connection. Note API Connector will open a popup window and redirect you to the API provider (like Google or Zoho) to approve the connection.
If everything is set up correctly, you’ll see a success message. Your new OAuth connection is now ready to use in any API request.
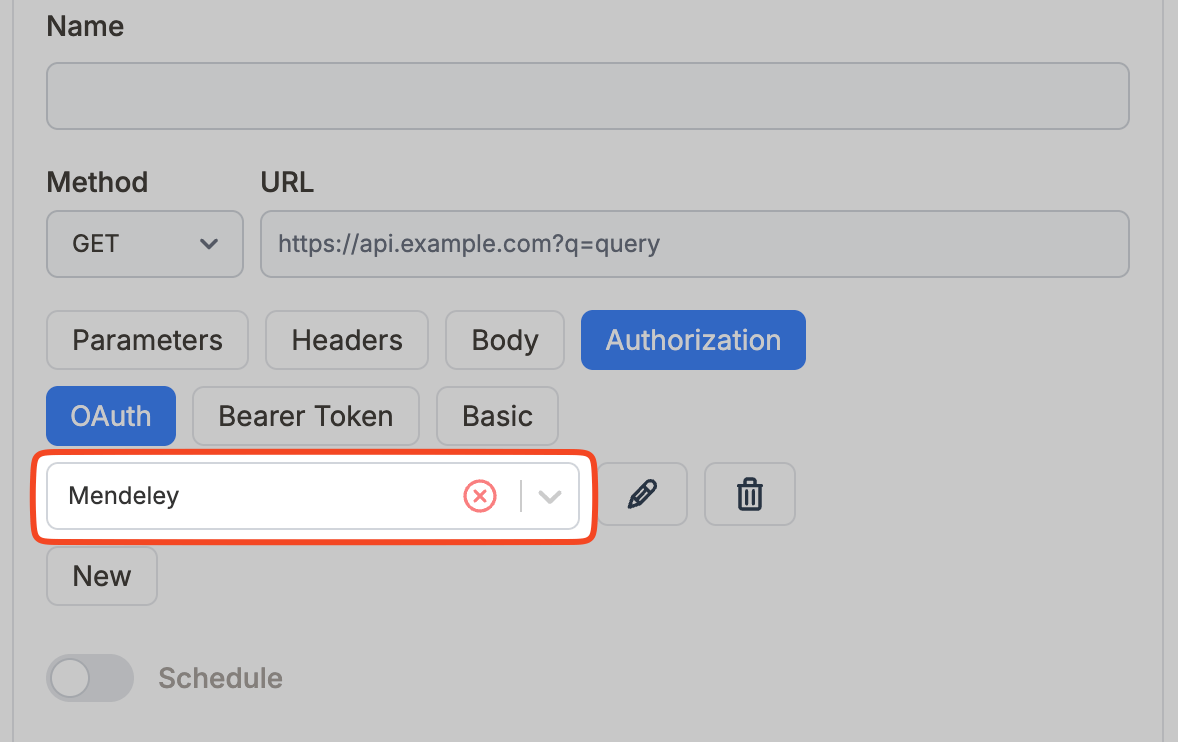
If something went wrong, you’ll see an error message instead. No worries. Just double-check your fields (especially the URLs, Client ID, and Scopes) and try again. You can also update an existing connection without creating a new one.
Examples
Our blog features step-by-step tutorials that guide you through setting up OAuth connections for a variety of popular apps and services. Some examples include:
Each tutorial includes screenshots and configuration tips tailored to the specific platform.