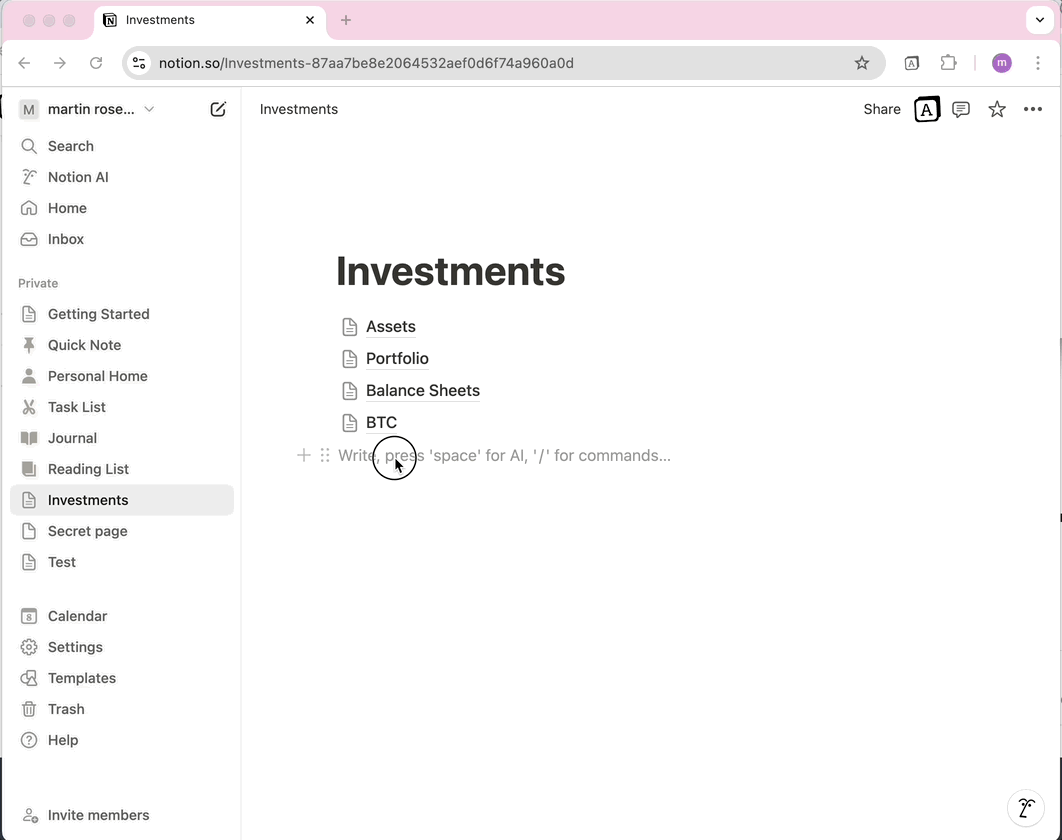
Data Destination
When you connect an API to Notion, you need to choose where the data will be stored. With Note API Connector, you can send data to either:
- Notion table databases (best for structured data and advanced features)
- Notion simple tables (best for quick, basic lists)
Selecting a Notion Page
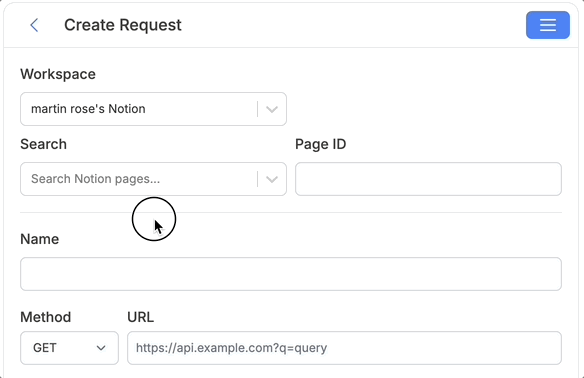
On the request setup screen, choose your Notion workspace and search for the page where you want the data to appear.
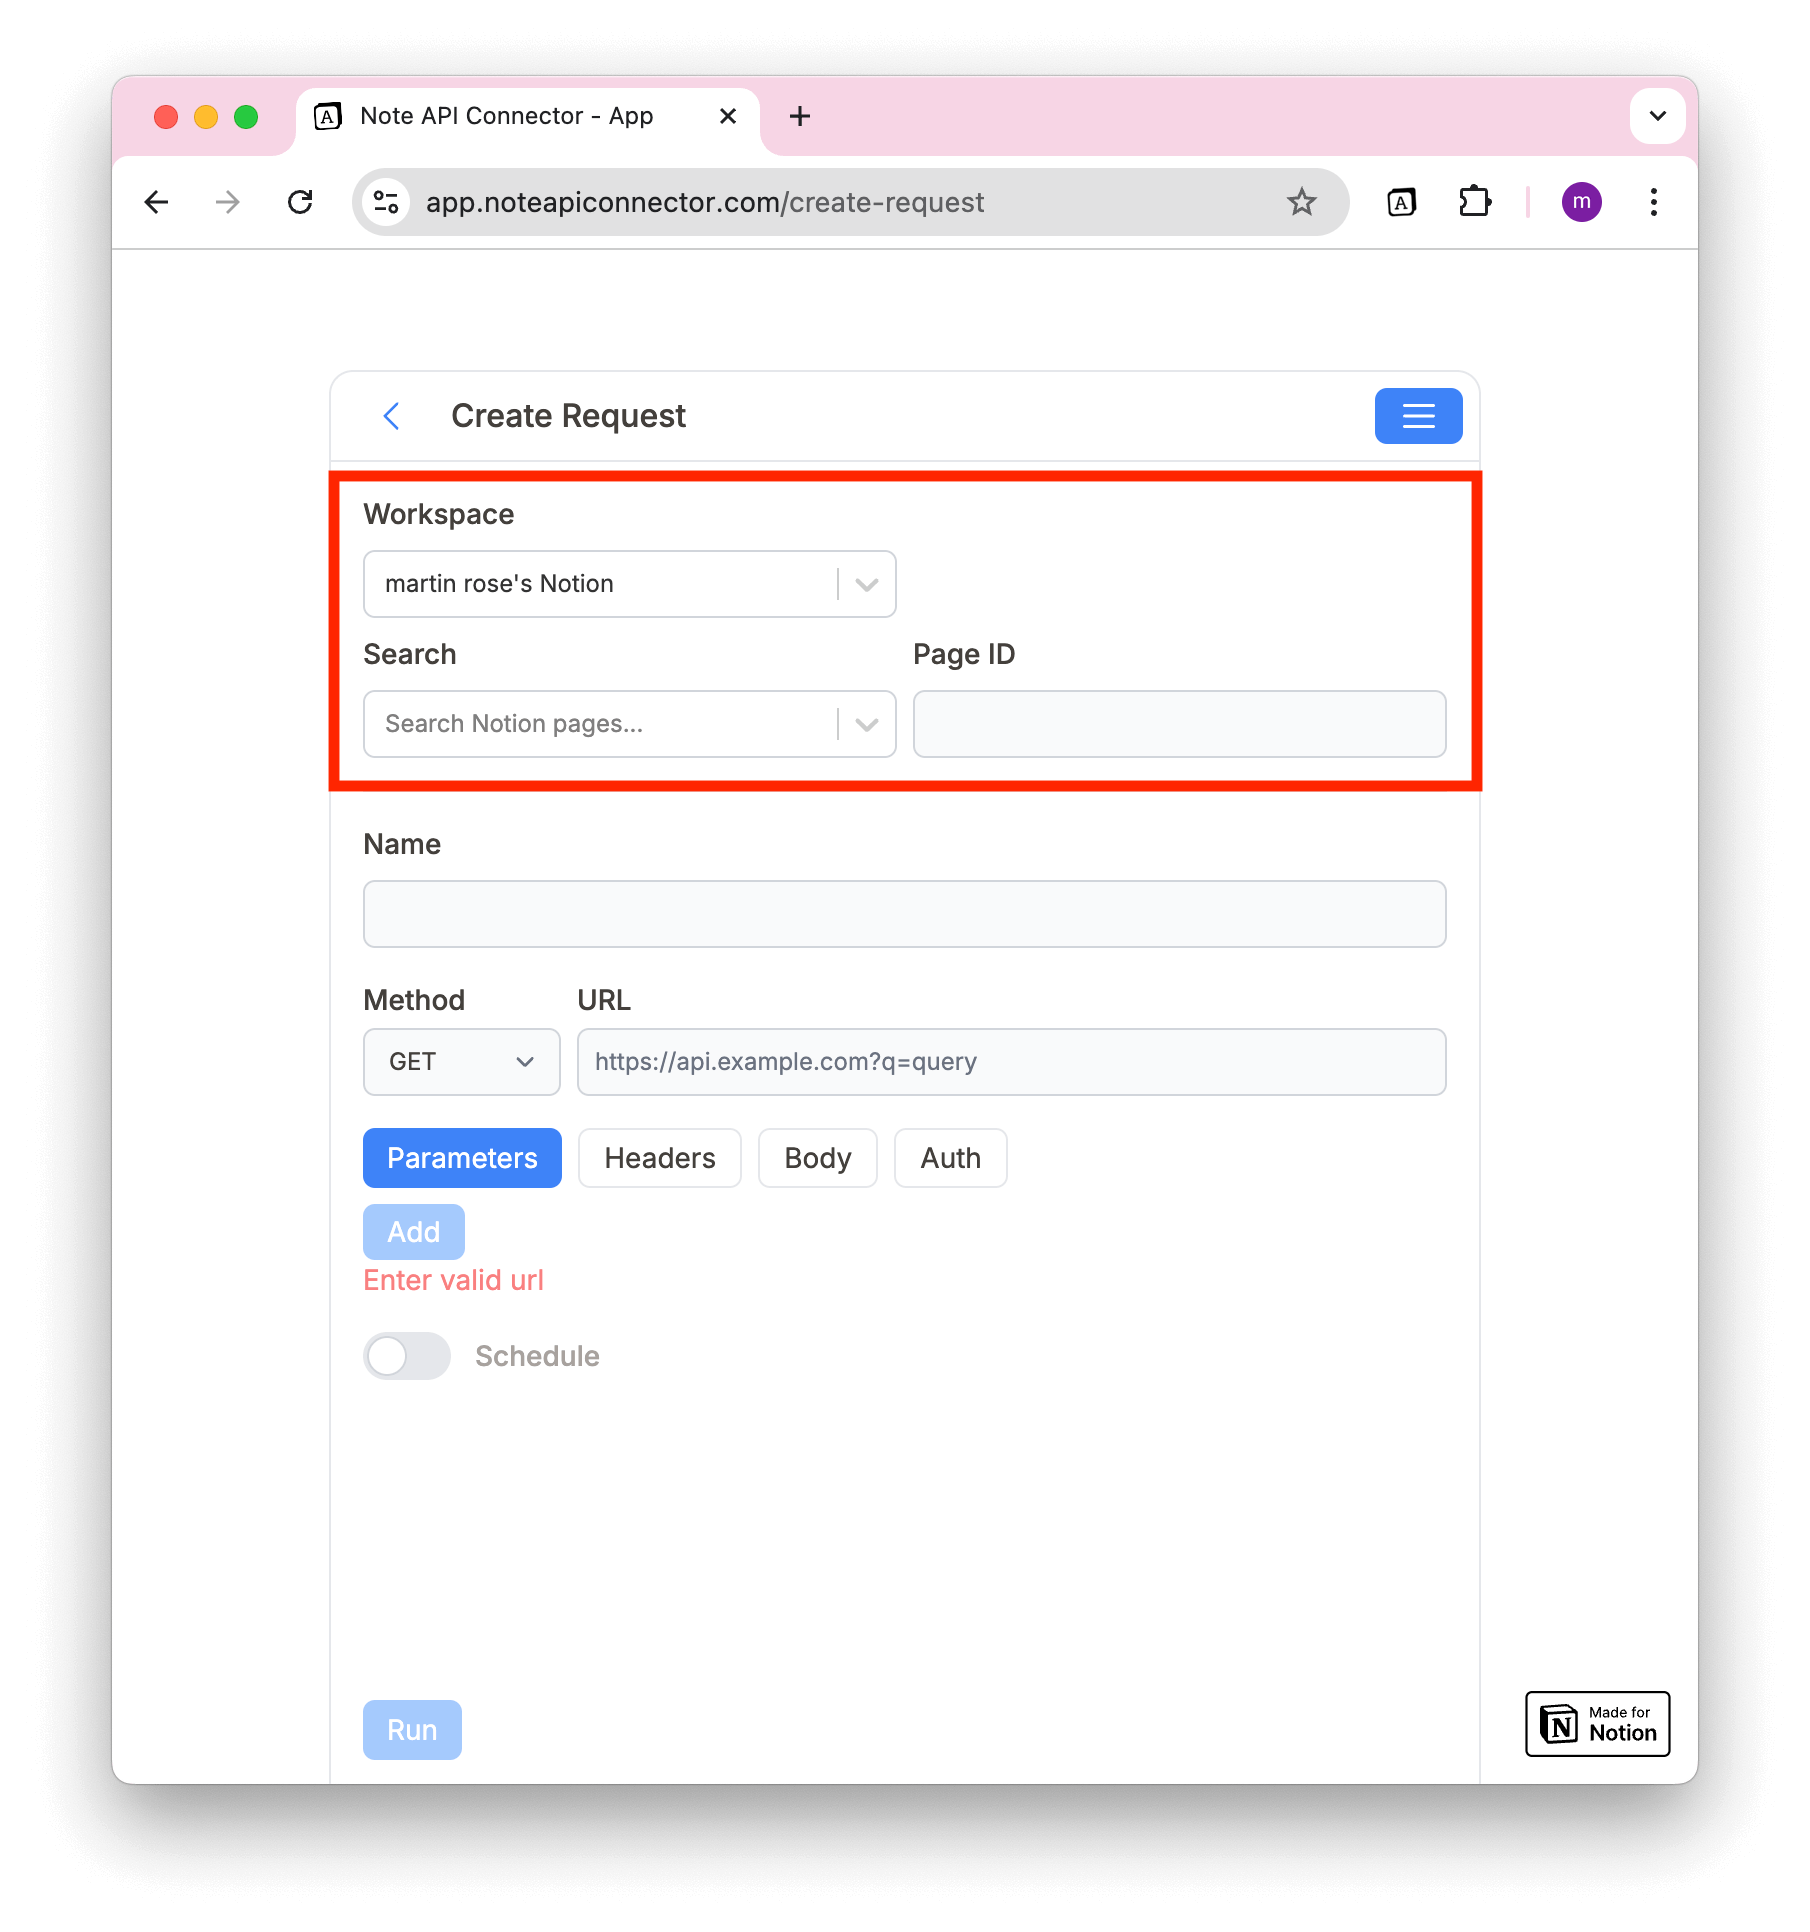
You can either:
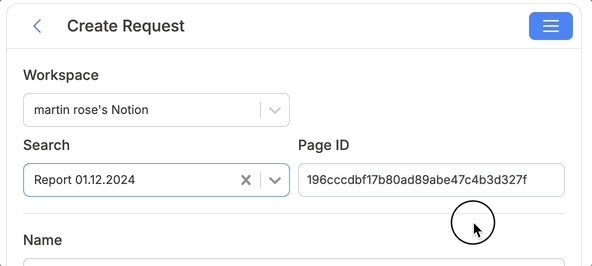
1️⃣ Search for a Notion page using the selection menu.
2️⃣ Paste the Page ID manually (the tool will show the page title with a checkmark if it’s valid).
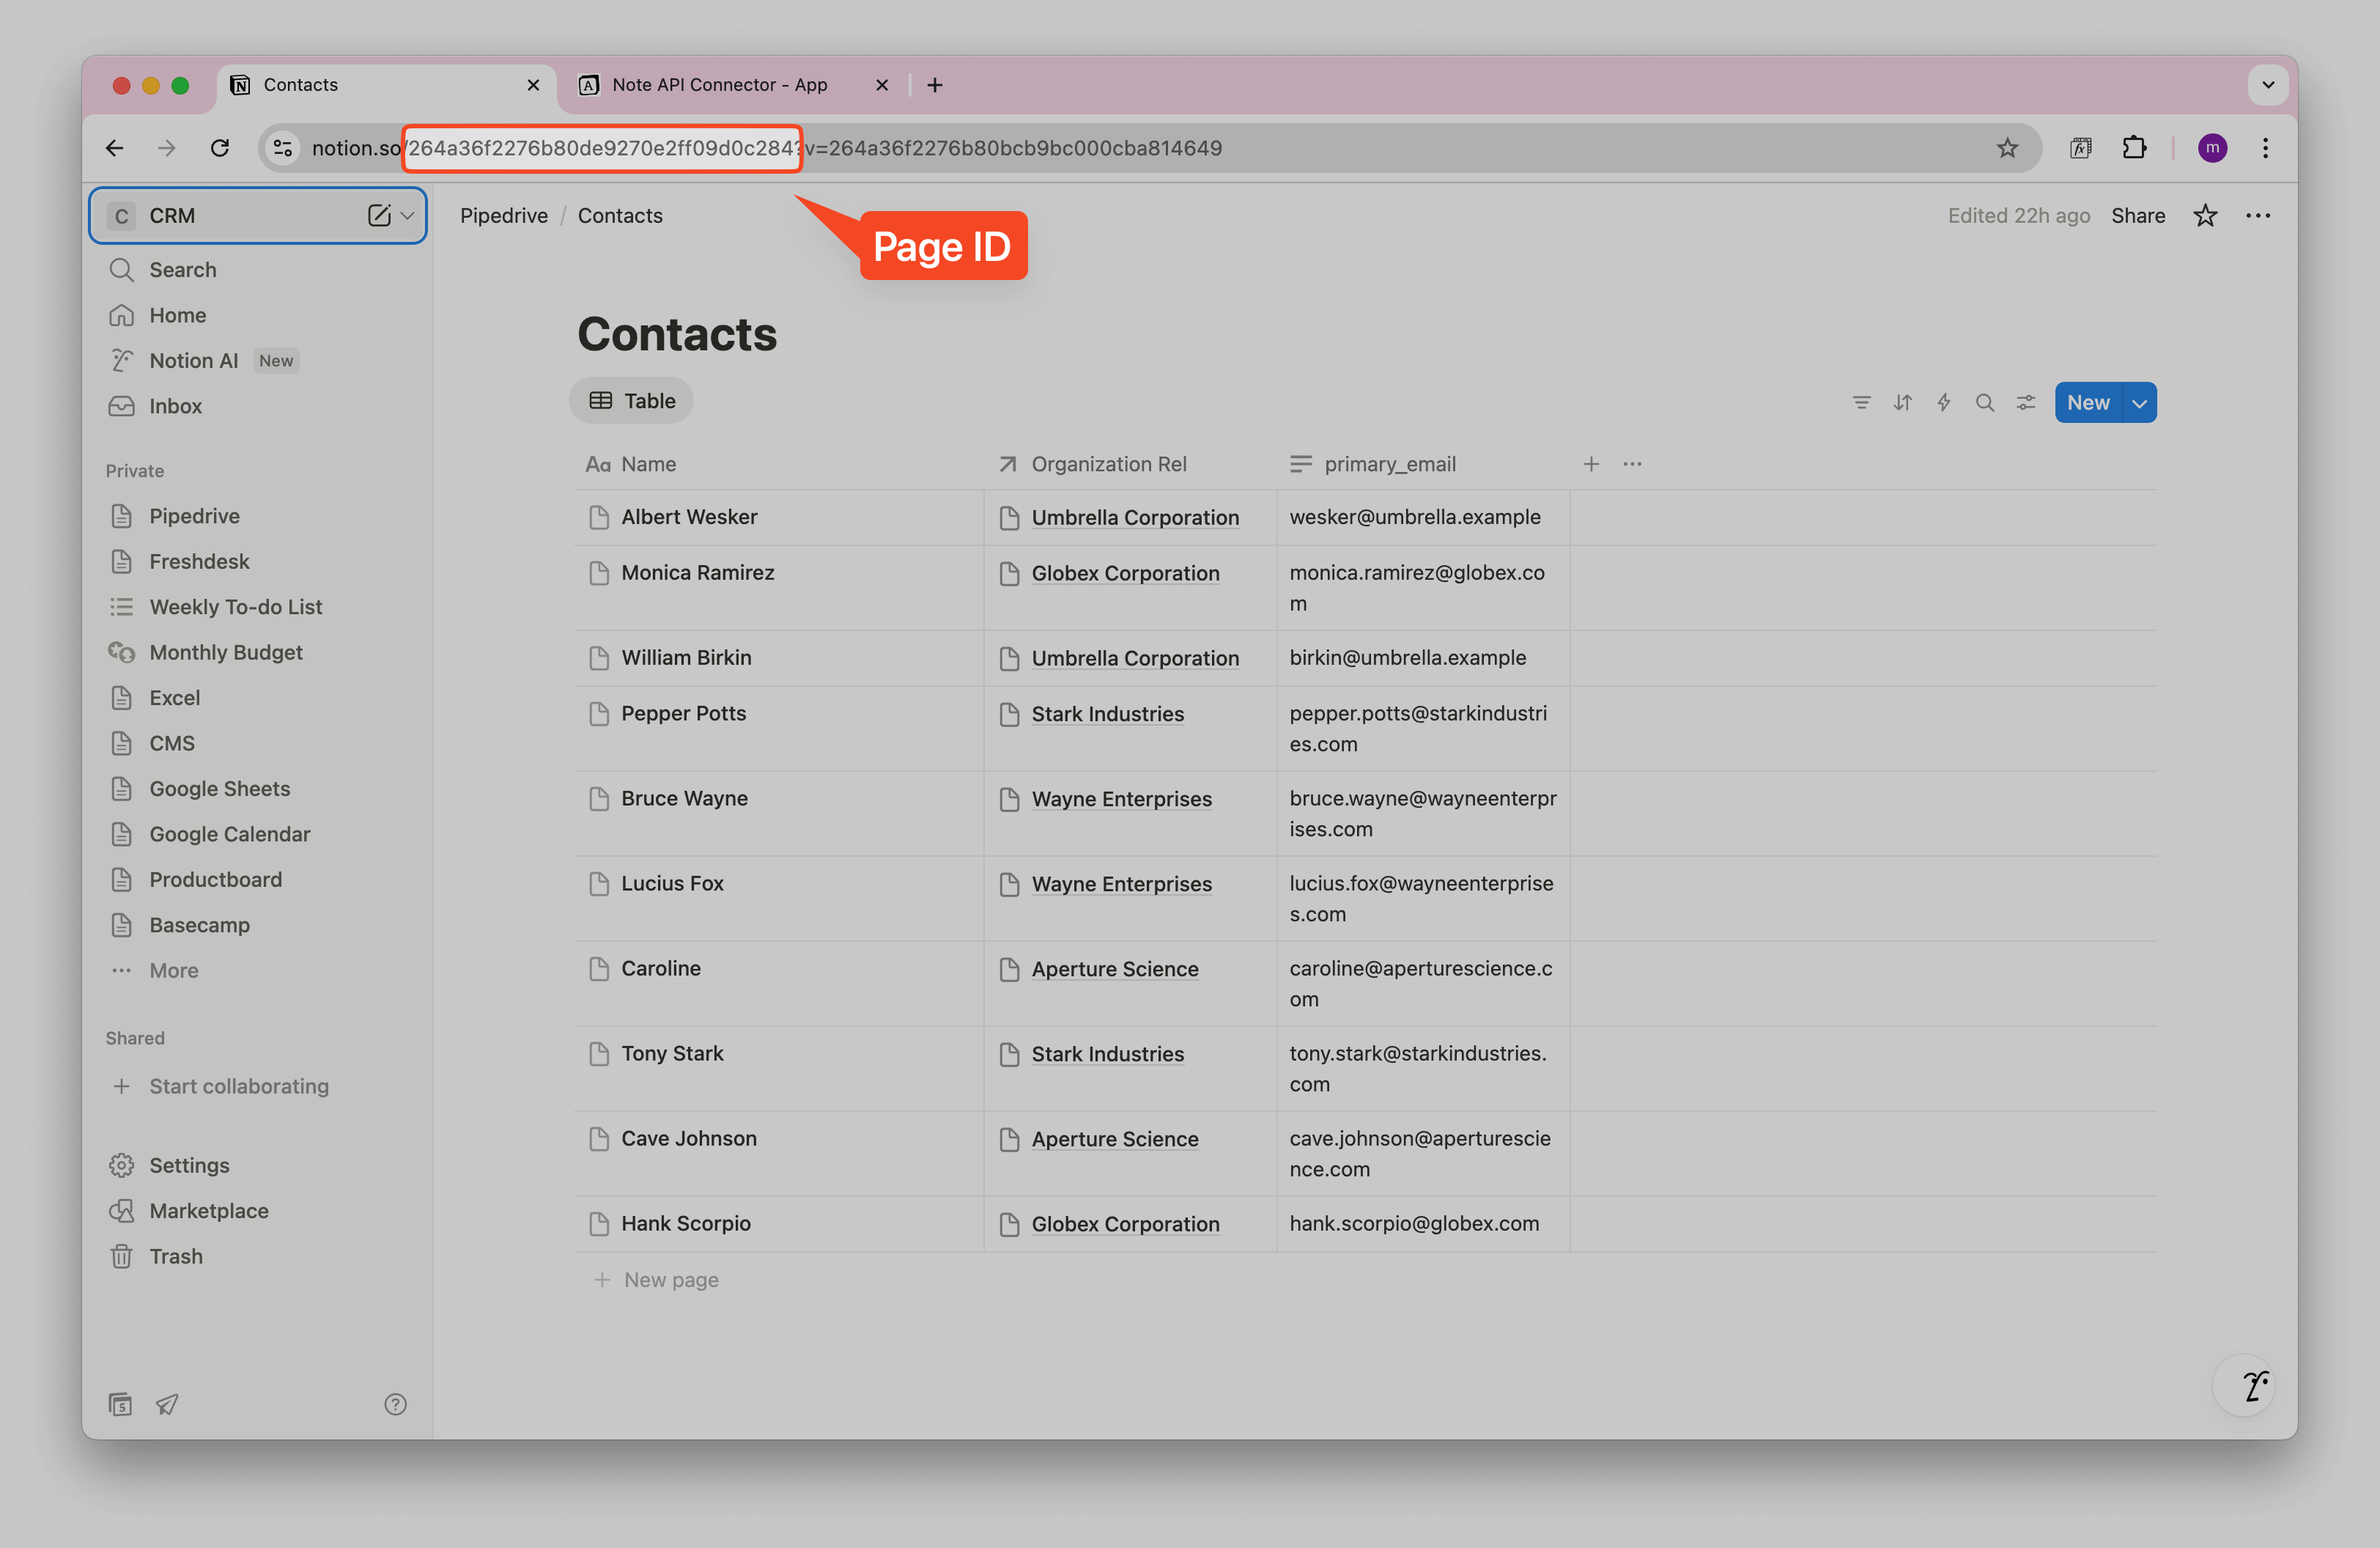
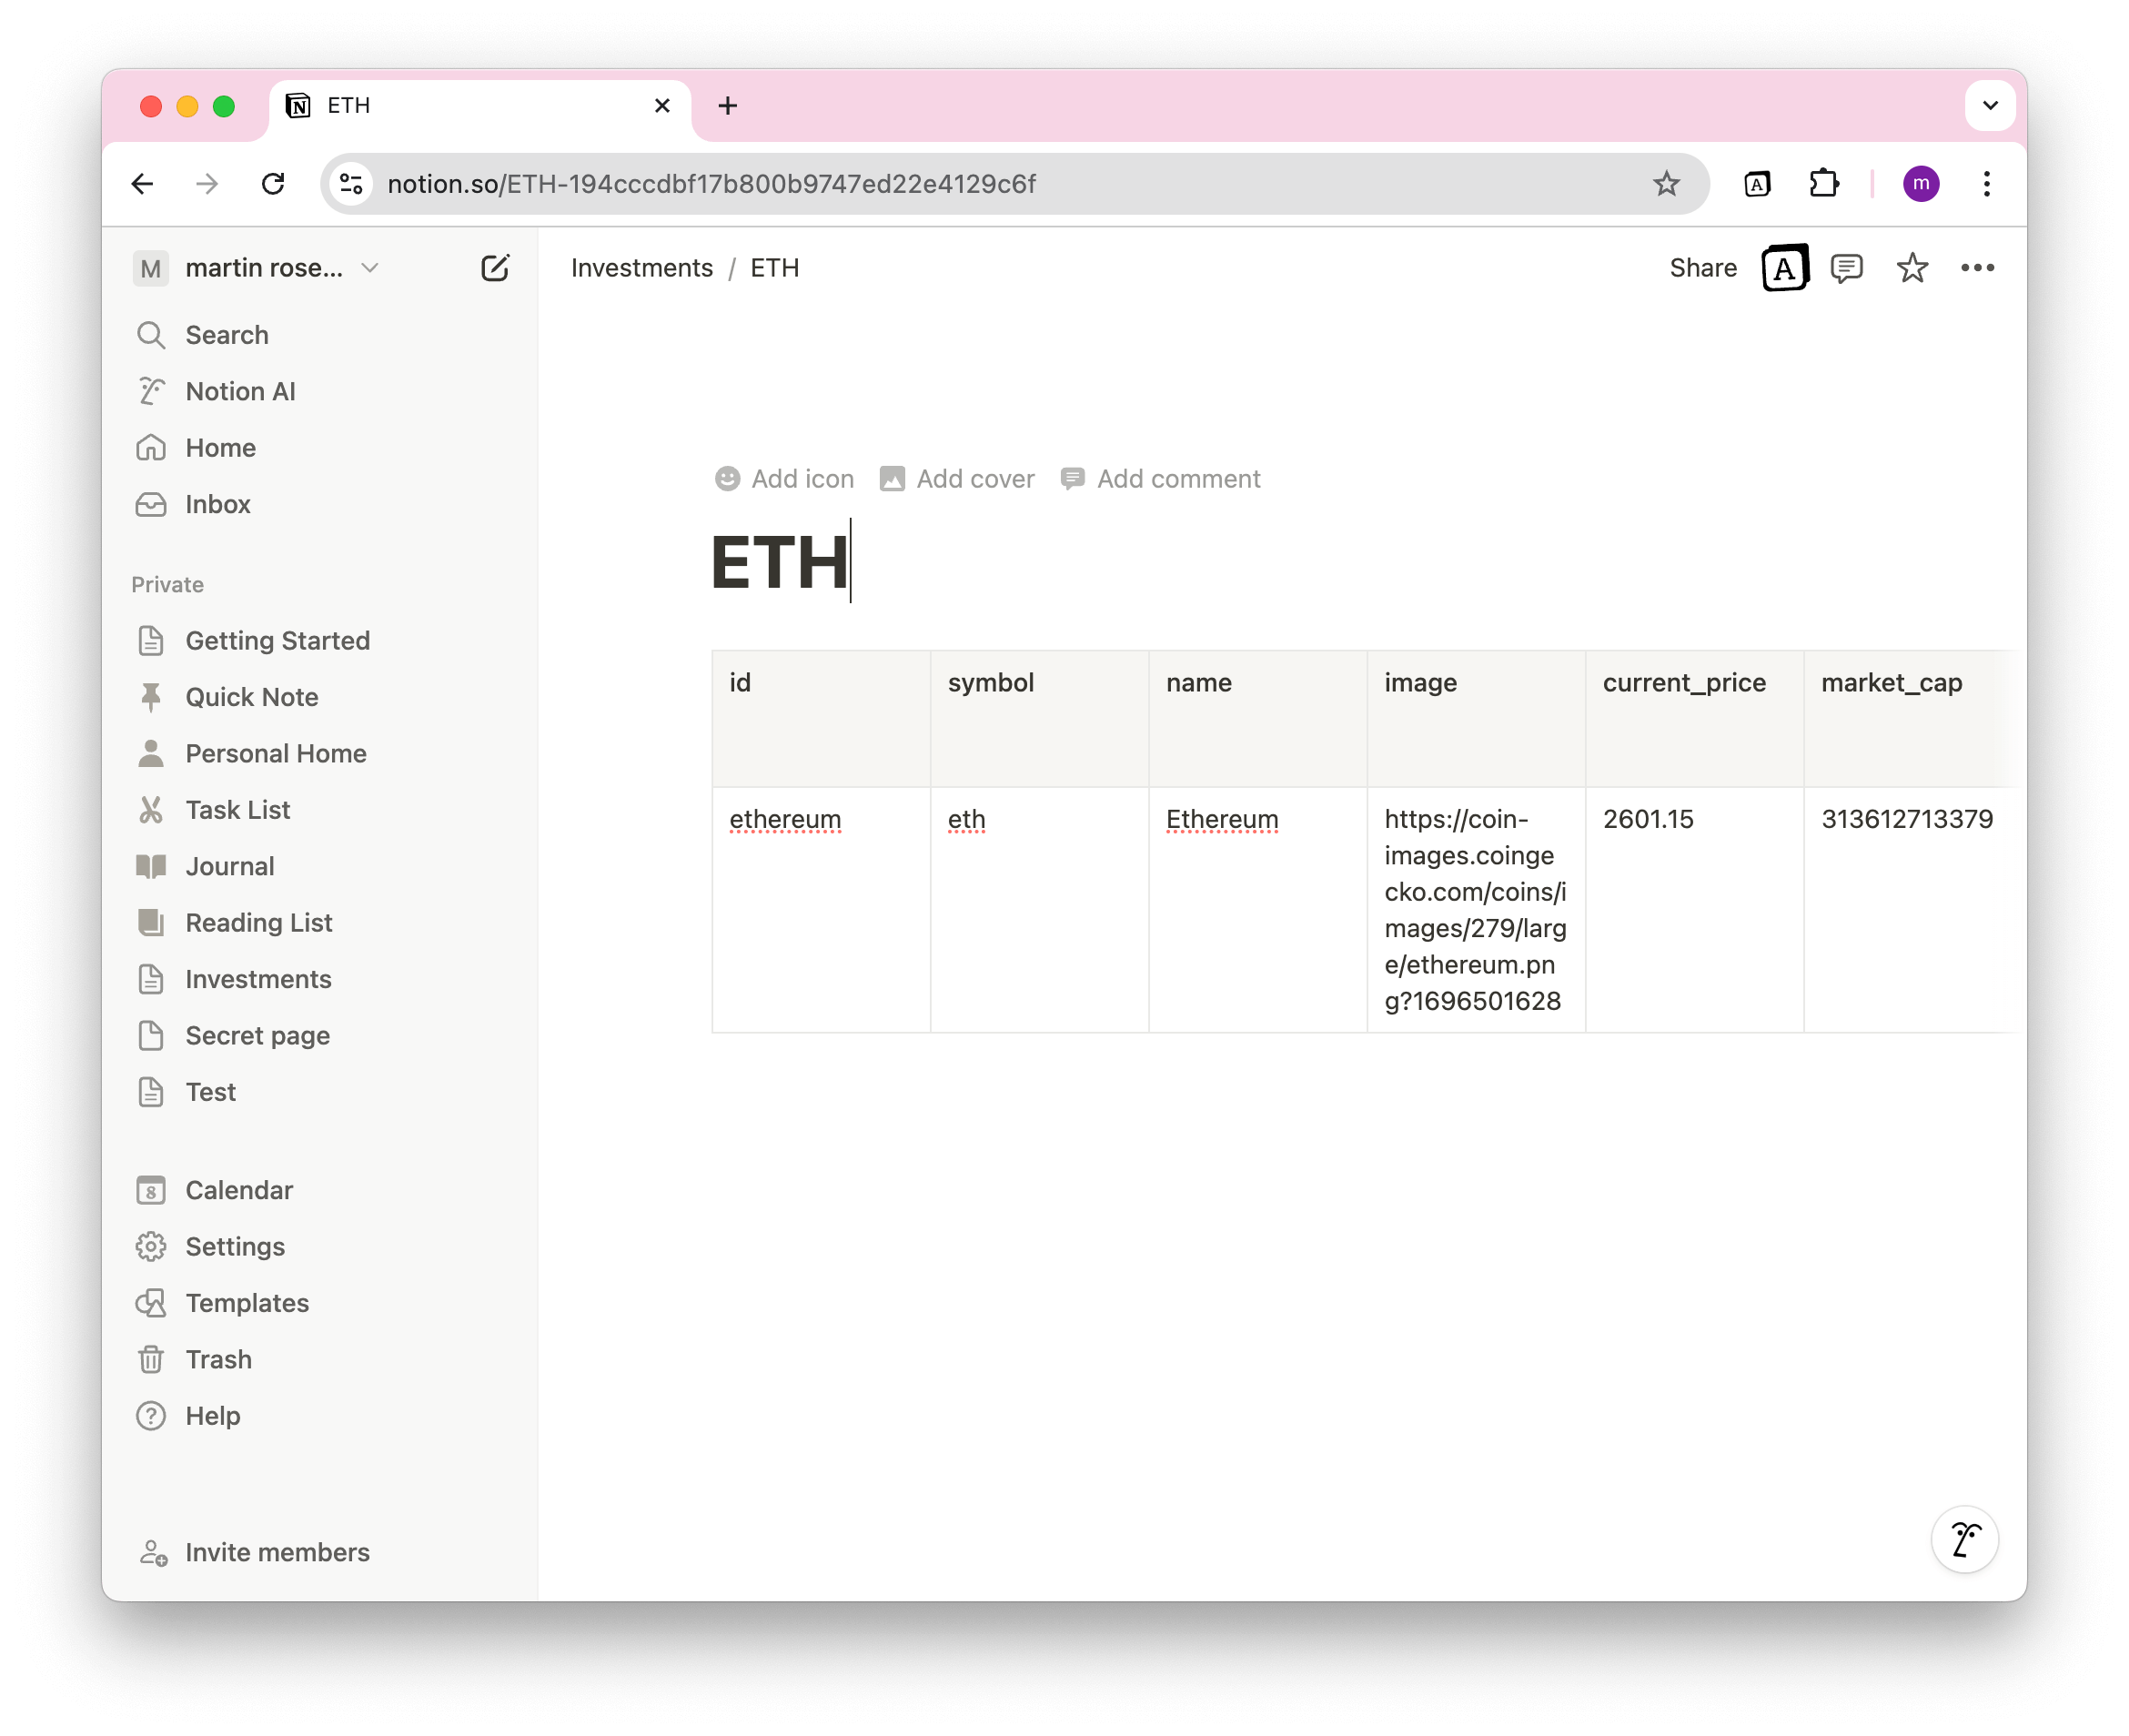
How to Find Your Notion Page ID
To manually enter a Page ID:
1️⃣ Open the Notion page you want to use.
2️⃣ Look at the browser URL. The format will be:
https://www.notion.so/xxxxxxxxxxxxxxxxxxxxxxxxxxxxxxxx
3️⃣ The Page ID is the long string of letters and numbers at the end (typically 32 characters).
Example:
https://www.notion.so/264a36f2276b80de9270e2ff09d0c284
Page ID: 264a36f2276b80de9270e2ff09d0c284
Notion Table Database vs. Notion Simple Table
You can choose whether to import data into a:
✅ Notion table database — works like a spreadsheet but with extra tools such as filters, views, and formulas.
✅ Notion simple table — just a basic table you add inside a page. (a simple table added to a Notion page)
See Notion’s own guide.
Importing into a Notion Table Database
To store API data in a Notion database:
1️⃣ Convert a Notion page into a database using the slash command: /database
2️⃣ Select the database
Importing into a Notion Simple Table
If you choose to import data into a Notion table, Note API Connector will generate a new table block inside your Notion page. This method does not modify existing page content.
For most cases, a Notion database is the better choice because you can:
- Create relations between different databases.
- Use formulas, filters, and multiple views.
- Reference and reuse data across Notion.